![]()
![]()
Open the HyperHDR developer repository, we need a page with release versions
(link).
Download the topical image file depending on your hardware.
Detailed installation instructions are in the "Wiki" section in the same repository
(link).
There indicates for which device which image you need to download.
I have a Raspberry Pi 4 as hosting, so I need to use the image:
SD-card-image-64bits-aarch64.img.xz
We extract the *.img file from the downloaded archive with *.xc extension
We connect a memory card of the "MicroSD" format to the computer (it is possible to use a regular memory card for Raspberry Pi 4).
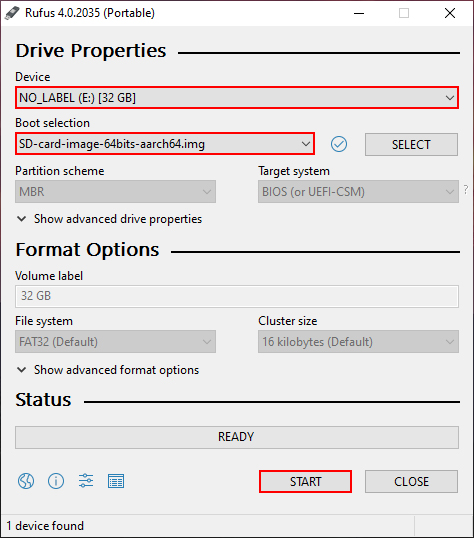
Downloading the Rufus program (link) and run it.
In the program window, it is enough to perform three actions:
- select drive,
- specify the path to the downloaded image (*.img file),
- press the "Start" button.
We are waiting for the process of writing the system image to the drive to finish.
After completion, open our memory card in Explorer, go to the folder "boot".
Next, to set up a Wi-Fi connection, you need to download files from the repository
(link).
Place the downloaded files in the previously opened folder "boot".
Open the file "wifi.nmconnection" in any text editor, edit the following lines:
ssid = SSID-Wi-Fi
psk = Password-Wi-Fi
Edit it by specifying instead "SSID-Wi-Fi" and "Password-Wi-Fi" the name and password of your home Wi-Fi network.
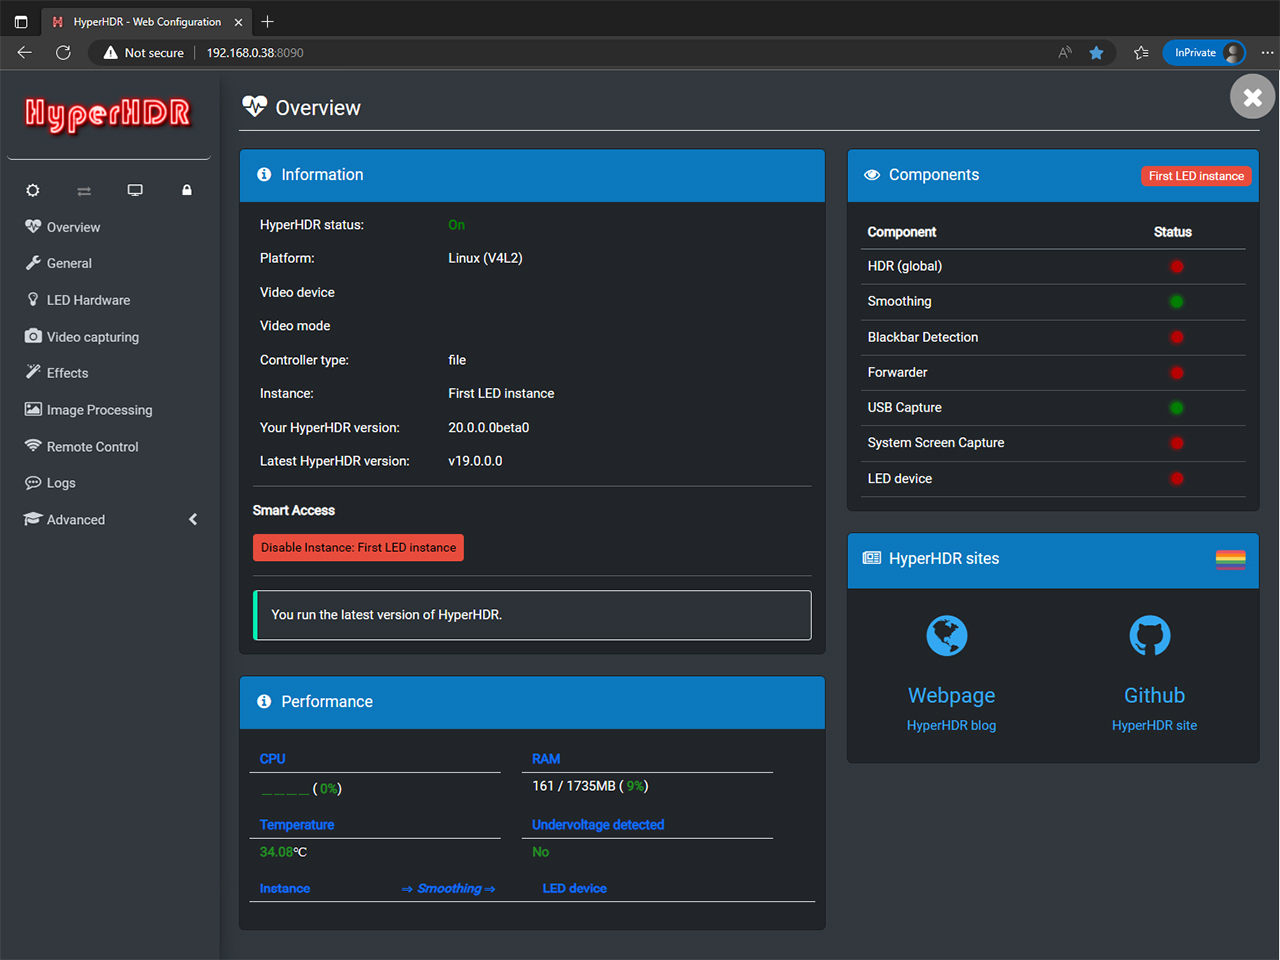
Disconnect the memory card and connect it to the Raspberry Pi. Open the web interface for setting up your router and find the IP address assigned to the newly added RPi. Connect to the HyperHDR settings panel, for this in the browser of any of your devices (phone / tablet / computer) enter the IP address in the address bar field and after the colon set port 8090 (HTTP). Example:
192.168.0.38:8090
If we observe the settings window, then we did everything right.